
This project has been one that I have been meaning to finish for a long time. Like since Feb. My parents have been so patient to let me leave this old cabinet I got from the thrift store (for $10) in their garage. I figured it was about time that I just got to work on it. I knew it would end up being a TON of work which is probably why I didn't start it sooner, but I am so glad that I finally just did it. Here is the before.

The drawers were falling apart, the hardware was bent out of shape, and there was a big hole in the back of the cabinet.
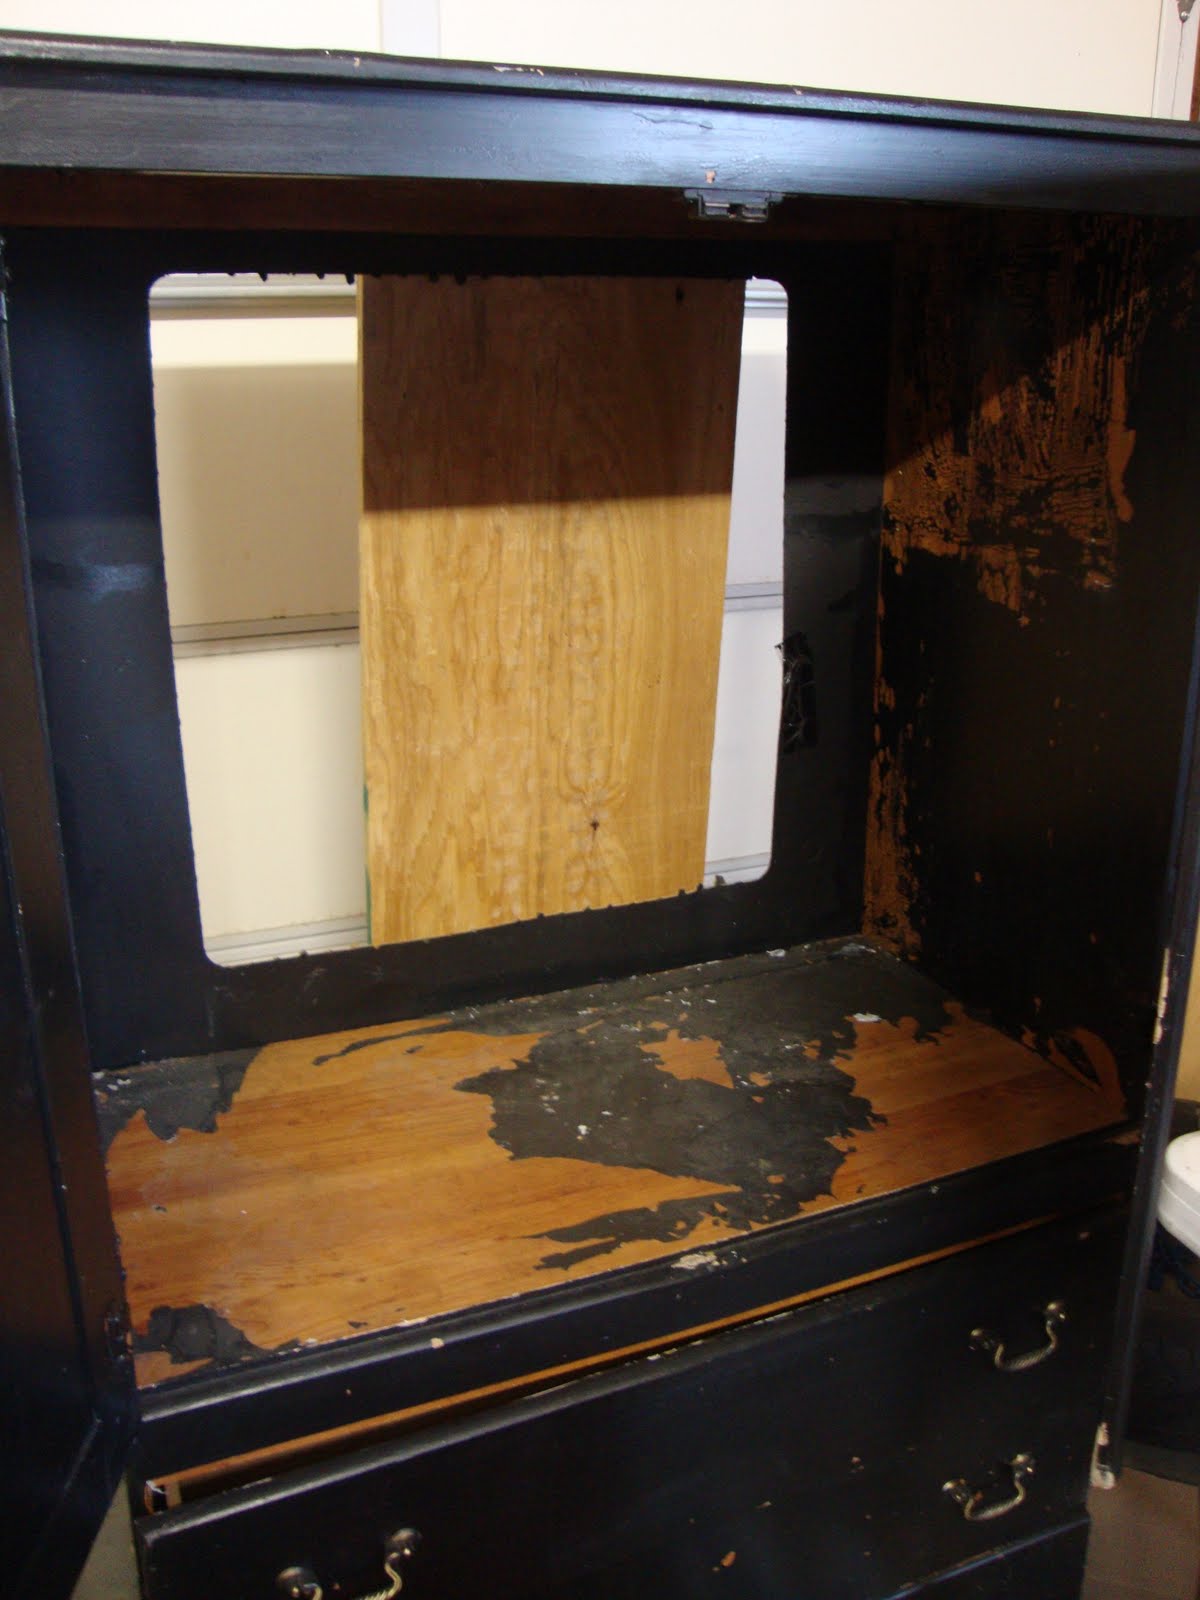


The cabinet is laminate and the previous owners didn't know how to paint on a laminate surface. I know because the paint came off in strips and didn't stick to the surface at all. I did a lot of research on how to paint a laminate surface properly and now it looks a ton better and won't just peel off.
I started by removing all the paint.

Then I sanded the shiny part of the laminate off with an electric sander. This makes it so that the paint will adhere to the surface. If you attempt this, just make sure you don't go all the say through to the particle board. It doesn't hold the paint the same way that the laminate surface does. This is where the photos of the actual process stop. I just wanted to keep working and didn't take the time to take pictures along the way.
Next, I cut a piece of beadboard to go into the back of the cabinet to cover the hole and added shelving in front of it.
The drawers needed to be repaired so I used wood glue and a staple gun and fixed them up.
The whole thing got coated with primer. Once it was dry, I lightly sanded it to make it smooth.
The last step was to paint the whole thing and add new hardware.

I am so pleased with the way this turned out. I have been wanting a place to store all of my piano and flute music in my house (that didn't include a box) and this worked perfectly. I am so glad that it is finally finished because it took me probably 4 days of working on it to get it finished. (plus the 7 months that it was sitting in a garage)

Here's the before and after side by side:

10 comments:
You've inspired me to get going on a piece that's been sitting in the garage for over a year.
Great job!
This is so great! Question: What type of primer and paint did you use? Oil/laytex/spray/etc.
wow nice job congrats!
Looks GREAT! I love the beadboard in the back!
Wow! It turned out great. NIce work.
Gorgeous, Jonie! It looks great!
xoxo,
Amy
It looks great! You are amazing. I need some of your motivation and talent to work on painting several things around my house. How soon are you due and what are you having??
Wow - this is exactly what I am working on right now and I sound a little like the previous owners of your armoir - I tried just a light sanding and then painted it and it simply peels right off in lovely strips! I am heartened to see that you stuck with it and completed it as I am tempted to kick my cabinet to the curb. I will have to start over again and seeind your result has motivated me to keep on! Thanks for sharing - I am a new follower - feel free to jump on over to visit me at http://repeartreedesign.blogspot.com/
Peggy
This looks so good! I really need to learn how to refinish laminate... or really anything. I love this transformation!
Um YOURE INCREDIBLE!!! SERIOUSLY
Post a Comment