
There. I said it.
Now that I have that out of my system, let me tell you about the fun Halloween Banner I made. :)

I have been wanting to make this for a while now, and am so SO excited with the way it turned out. I even talked Charli into making one with me. (As soon as she hangs hers up and takes a photo, I will show you how her banner turned out. It is so stinkin cute and it's different from mine.)
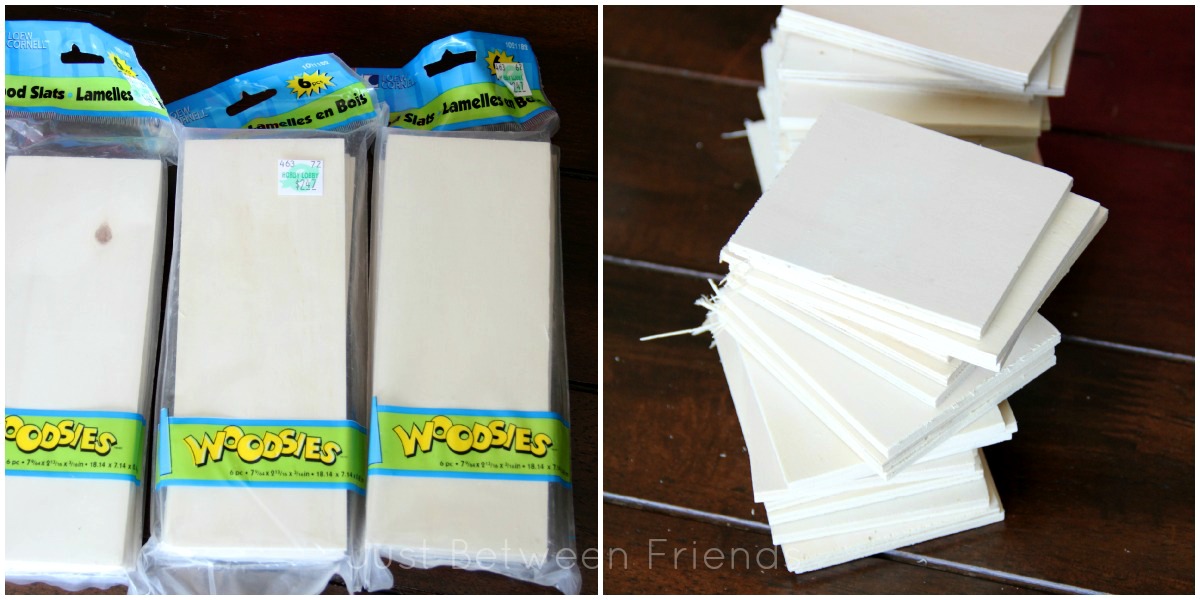
I started off by gathering my supplies.

You can find the wood pieces in your local craft store. I got mine at Hobby Lobby in the wood projects isle. I could have left them long, but I wanted them to be smaller, so I sawed them in half. Well....almost half. I ended up with two different sizes, but then I thought it would be fun to mix and match. Then I forgot that I had two different sizes, so they aren't very mixed or matched. Mostly clumped. But it works.
I purchased the Thickers at a warehouse sale, but I have seen them at any craft store as well. I decided to make this project as easy as possible. If you don't have a Silhouette yet, no biggie. I didn't even use it this time! (This is a huge step for me because I use that thing for everything.)
The rest is just personal preference. I wanted to go with more neutral kinds of Halloween colors with a little pop of orange and green. I am LOVING the cardboard paper I found at Hobby Lobby as well.
The wire is an 18 gauge wire that I found at Home Depot in the picture hanging stuff isle.

We good? You got all that? Let's get to the fun part now.
All you need to do is cut your pieces of scrapbook paper to match the size of the wood. Then use mod podge to attach it. Once you have your base paper on, you have creative license to embellish your little heart out.

I liked the look of having each board be a little different, but that is just my personal preference. Once you have all your boards finished, you will need to drill two holes in each piece. This is really easy. If you are too scared to use a drill, you could attach it some other way like with tape and ribbon or even use a staple gun.

I wanted a simple look, so I put the wire through and then just bent it so that it actually just looks like a staple. On the ends, I left about 12 inches to curl and hang the banner up with.

Ta-to-the-Da. Finished.


Stand back and admire.

3 comments:
Love it Jonie! What a great idea to us the wood- it will be nice and sturdy for years to come. All your embellishing is awesome. :)
xoxo
That is so adorable! I love all the fun little details. I think you need to make me one now or maybe I'll just copy yours.
This is so cute, Jonie! I love how you did the "O" as a ghost mouth :) Love the design... great embellishing.
Post a Comment