Showing posts with label Christmas. Show all posts

Saturday, December 8, 2012

Christmas Decorating

There is something about having Christmas lights on in your home that feels so cozy to me.  I love the way it looks and feels.  One of my favorite things to add lights to is my mantle above the fireplace.  Getting cozy next to the fire, drinking hot chocolate with only the Christmas lights on.  Now that is a very nice place to be.


The NOEL is a fun kit that I purchased at The Wood Connection and made with my mother in law and sisters in law.  It is a really simple, easy and CUTE decoration.  Plus it was really inexpensive to make it as well.


I try to keep things pretty low key around here as far as decorating for the holidays goes.  I like to have a simple touch here and there instead of filling every single space in my home with something.  Here are a couple of those simple things that I like.

Do you remember my snowman kits from last year?  I made one for myself and I still love it.  I currently have this little guy sitting on my piano.  


This is my all time favorite Christmas decoration ever.  My mother in law gave me this manger set several years ago, and it is simple and beautiful.  (Just the way I like it)


Last, I will show you my entry table and my tree all at once.  My tree is a sad little thing that I have had for years.  I inherited it from my parents who had it since I was maybe 4 years old.  This tree has lived a long life and is well loved.  My daughters have decorated and removed decorations enough on the tree that I think a pretty shot of the tree from afar will suffice. :)


There you have it.  A few Christmas touches around the house that makes it feel festive but not overwhelming.  I love it.

Pin It!

Friday, December 7, 2012

DIY Snow Globes

There is something magical about a snow globe.  It is almost therapeutic to watch the glitter fall.  I knew that Lillie would love to help me make them, and I was totally right!  It was a fun activity to put together with her.


Let's get started making them.  This is easy, really!

First Gather your supplies:


  • Glitter
  • Old Jars (I used a mason jar and an old pickle jar that I had)
  • Baby Oil
  • Small Ornaments/Trees
  • Hot glue

Next, you are going to glue your items to the inside of the jar lid.  Make sure they are glued well so that they don't fall off when you are tipping the jar up and down. Fill the jar with baby oil and also add the glitter.  If you put too much in there, it will be hard to see the cute ornaments through the glitter falling.  (I learned this the hard way)  


Last, you are going to glue the lid onto the jar so that it is sealed.  I didn't put enough glue on the inside, so my globes leak and I need to seal it from the outside now.  Learn from my mistake and be VERY generous with the glue inside the lid.

Now you have a beautiful and custom snow globe!


Pin It!

Point of View {Ornaments}

It has been a CRAZY couple of months.  I am really glad that we were able to find a time to do this Point of View party because I am dying to see your creativity in action.  This month our theme is Ornaments.  Here is what each of us made to go along with the theme.

POV-December-2012


I need to take a quick moment and tell you that this will be Gwen's last Point of View party.  We will miss her and her beautiful projects.  She has decided to take a final step back from blogging and we respect that. Thanks for being a part of this with us for the last two years, Gwen.  Love you.


Now, I can tell you that you need to go check out the projects that everyone has done.  You can click on the links above to get to the tutorials.  I know I know.  Mine isn't an ornament.  I have just been really wanting to make some of these snow globes and this was the perfect opportunity to do it.

It's your turn!  Have you been working on ornaments recently?  Do you have a post that is related to the theme of Ornaments?  (Or snow globes)  Link up your projects below and we will feature our favorites next week.  The link party will run through Sunday, so link up your projects past or present.  We aren't picky!
Pin It!

Tuesday, November 20, 2012

Tiny Prints Holiday Cards

One of my favorite parts of this holiday season is getting Christmas Cards from friends and family and having them on display so that I can see so many people that I love all at once.  Last year, I made my cards through Tiny Prints, and I have to say that they were the best quality I have ever seen in a card.  They turned out perfectly and I am so excited to order more this year.  


If you haven't ever taken a look at all the cards that Tiny Prints has to offer, you are missing out.  They literally have a card for every occasion and they are sure to have a card that fits your style.  There are TONS to choose from.  Here are some of my favorites that I am thinking of using this year for our Christmas card!


Like I said before, these cards are REALLY good quality, and so you definitely get your money's worth.  What's even better is that Tiny Prints usually has some sort of promotion going on so you can get your cards at a discount!  If you want to see what kinds of promotions they have available, you can find them on their promotions page.  Right now they have a 20% off your entire purchase coupon and a free shipping coupon as well!

Go over and order your cards now.  You will be so glad that you did!

Sponsored post.  All opinions are 100% own.  I recommend Tiny Prints to everyone just because I love their service and quality.


Pin It!

Thursday, September 13, 2012

Easy Christmas Gifts

I realize that Christmas is a long way away, but why not start planning now for the holidays?  These ideas are some of my favorite that I have ever seen as far as neighbor gifts go.  I even have FREE PRINTABLES to go along with them!  It doesn't get any easier for you than this!


This first one is my all time favorite.  "You're gettin "Muffin" for Christmas."  Seriously clever, right?  I didn't come up with the saying, but I did make the printable.  Just click the link below to print your own tags.  I used the yummiest muffin mix out there.  Ghirardelli double chocolate muffins to be exact.  They are yummy! Plus who wouldn't love a nice chocolately muffin?


To make it a little nicer than just slapping a label on a box, I used some brown packaging and wrapped it around the box so that you could still see that it was a muffin mix.  Then I used a rectangle of red card stock and attached it on top of the brown packaging.  Last, I tied some red bakers twine around that, and finished it with the printable.  It is a simple packaging, but one that I think looks really nice!

***Printables are for followers of Just Between Friends ONLY.  If you like this post, I would love it if you would follow along!

PRINTABLES:
You're Getting Muffin for Christmas
Twizz the Season to be Jolly


This next gift idea is another one that I think is SO clevah. (You know, like clever, but clevah instead.)  This is really easy to put together and really inexpensive.  All you need to do is get some ribbon, print off the printable (link above), and attach it to the licorice.  I did glue the printable onto some black card stock to give it a more finished look.  That's it!  So cute!


Pin It!

Thursday, December 16, 2010

Winter Wreath

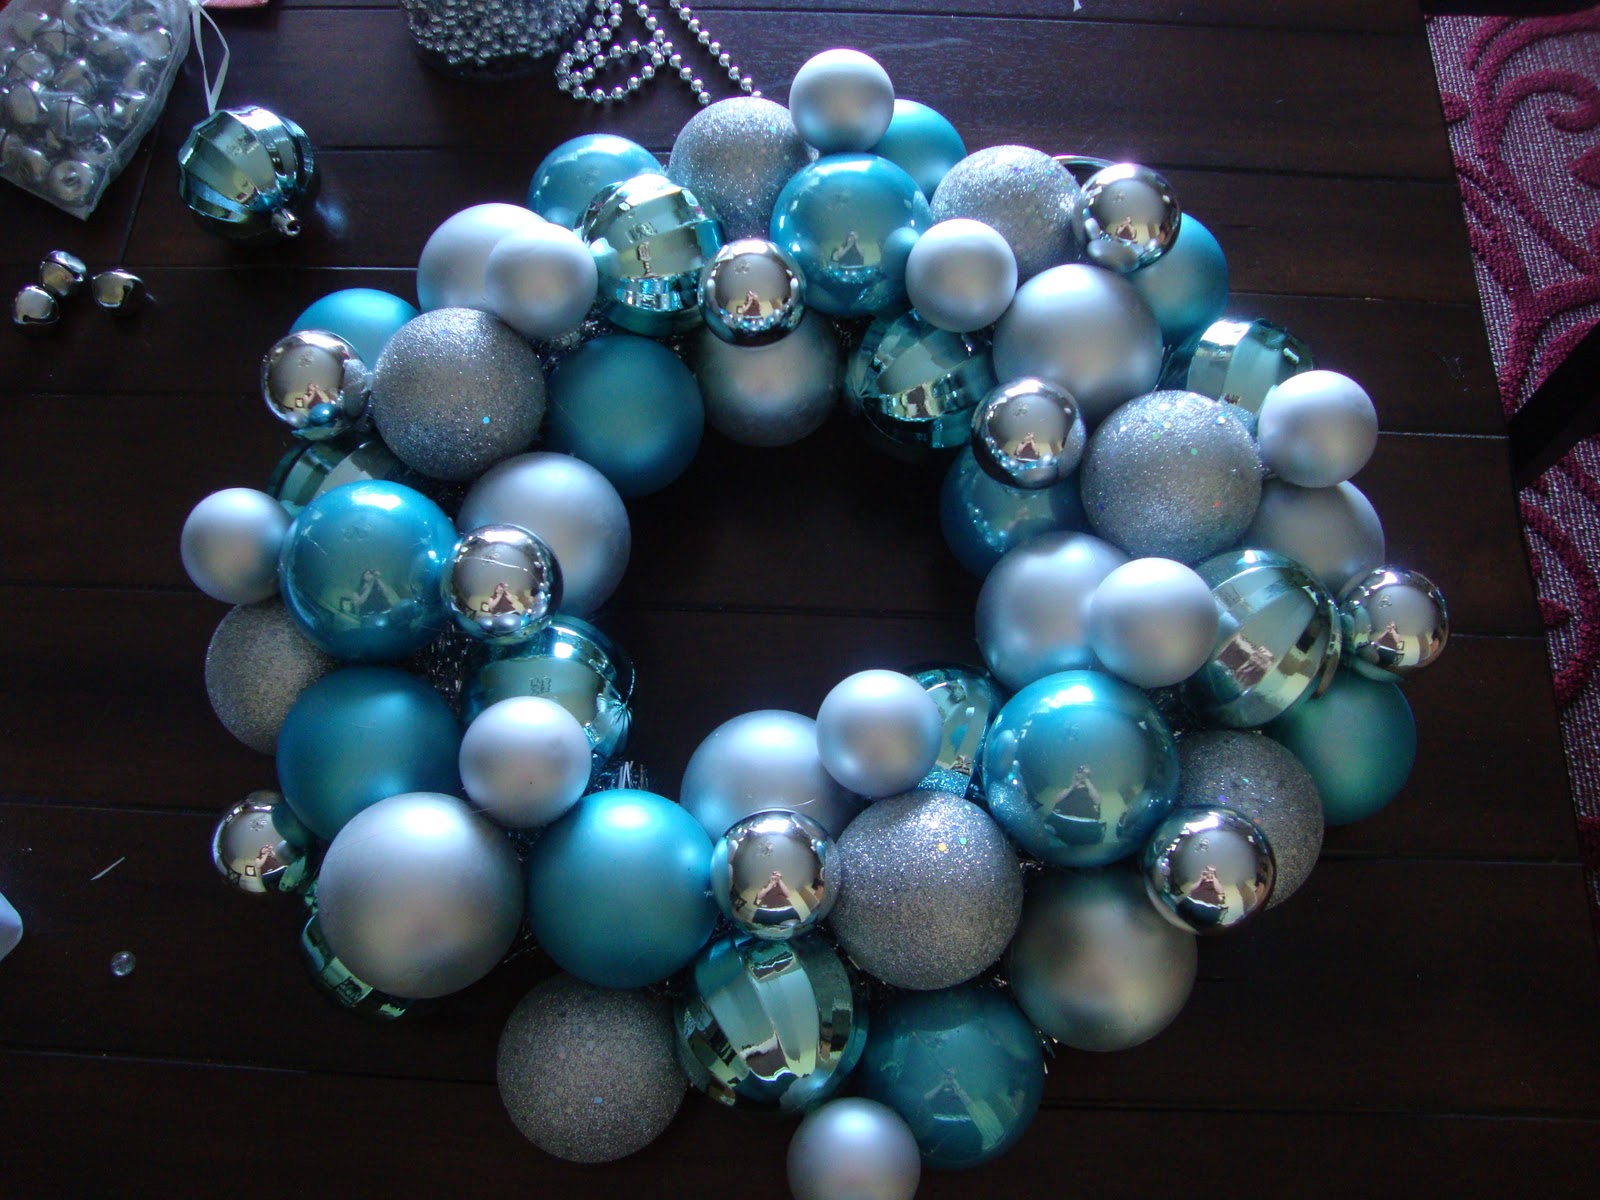
It's the week before Christmas.  Let's be real, it's pathetic that I haven't had a Christmas wreath on my door in the four years that I have been married, but it's even more pathetic that I finally decided to make one now the week before Christmas.  So instead of doing a typical Christmas wreath, I decided to make it a "winter" wreath so that I could keep it up through January. 

Here are the Supplies:
1. Wreath form.  You can use any kind and size you want.
2. Ornaments.  I went with two different sizes and stuck with silver and blue to make it like ice-ish. (ice=winter...right?)
3. Tinsel Garland
4. Jingle Bells.  I got ones that were smaller than the smallest ornaments
5. Silver bead garland
6. Hot glue.  Lots and lots of hot glue.

Start by wrapping the tinsel around the wreath form.

Then start adding your ornaments  There really is no specific formula to putting them on.  Just eye it.


 All the ornaments are on.
 Then drape the bead garland around the ornaments. Attach with glue.
Last I added the bells and hung it on my door.

 I am really happy with the end result and won't feel bad if I leave it up through January....and maybe February....March?  Who knows.  It's been known to happen :)
Pin It!

Monday, December 13, 2010

Rockin Around the Christmas Tree

I have really been getting into the Christmas Spirit more and more lately.  I think some of it is attributed to the many tours in the blog world of people's Christmas decorations.  I thought I would share mine with you.  We like to keep it simple around here.  You've already seen my porch, so allow me to show you my tree.

Our tree wouldn't be complete without some very key ornaments.  My Grandparents give us an ornament every year for Christmas and I love them.  Here are just a couple. 


These are obviously representative of my husband.  He loves to fish.  He was given these ornaments when he was a kid.  If you look closely at the belly of the fish you will see that it says '99. 


Our Nativity.  My mother in law gave this to me for Christmas one year and I LOVE it! 


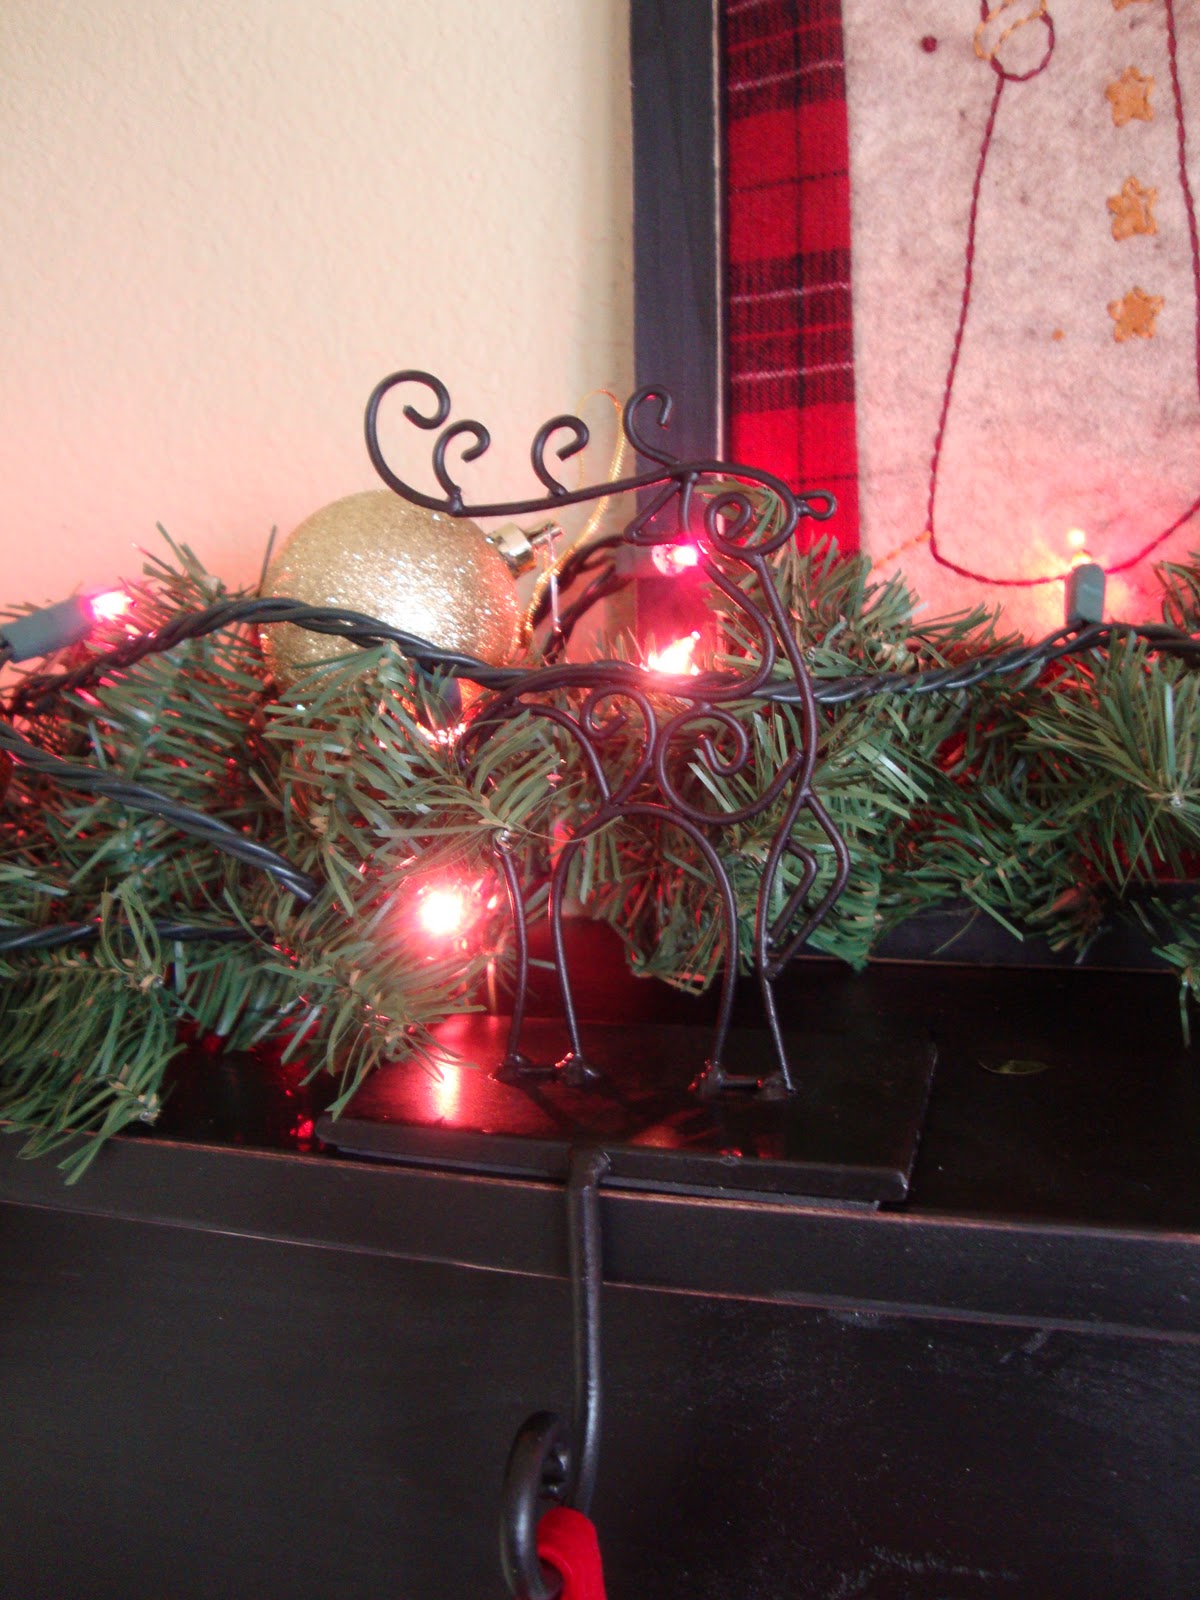
My mantel.  Nothin fancy.  I need more stockings/different stockings.  These are the ones that I bought at Walmart our first year of marriage.  They are functional, but definitely not the cutest things you will ever see.

Like I said.  We keep it pretty simple around here.  There are a couple of other decorations around the house, but these are the main ones.  I hope you like my decorations as much as I do.
Pin It!

Thursday, December 9, 2010

Winterized Porch

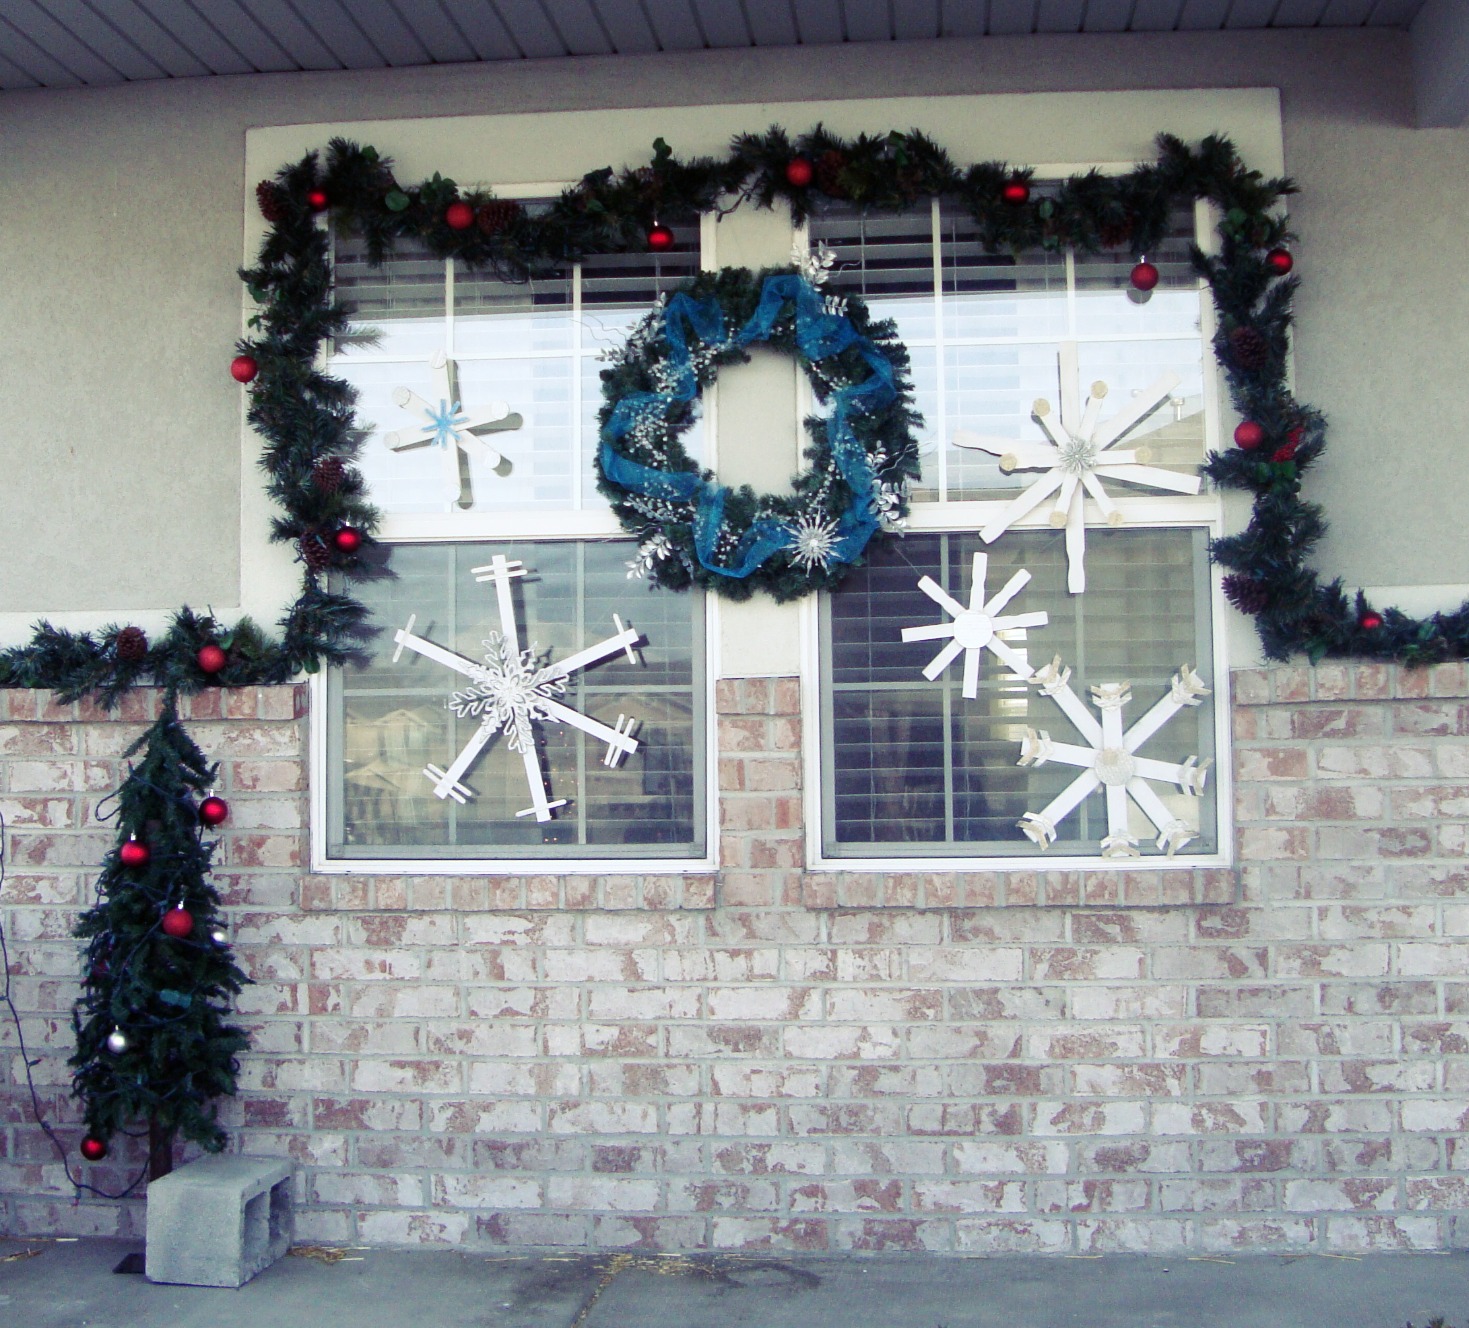
Sometimes life is really crazy.  I started this project a while ago, but just finished it this morning.  So, even though Christmas is only 14 days away, I finally finished my porch.


Don't mind the cinder block.  The tree kept blowing over and the cinder block works like a charm.  Also, I am wishing I had some turquoise ornaments instead of the red, but I don't want to go to the store to get more.  It works, right.

Let's start with the wreath.  I got the evergreen wreath thing, the tulle and the sparkley beads from Hobby Lobby.  The silver branches came from Roberts and the snowflake came from the dollar store.


I simply hot glued them onto the wreath to create this look.  I am in love with it.  It makes me think of the snow queen from Narnia.

Now, to create the snowflakes.  These are the supplies I used.

I wasn't sure which kind of glitter would be the best to use, so I got a few different types.  I would recommend using the folk art glitter paint.  It was so much easier to use and far less messy.

I started by using the tacky glue to attach the paint sticks together.  Then I used a staple gun on the top and bottom to make it stronger.

Next I embellished with popcicle sticks, dollar store snowflakes and cardboard cut outs.  Then I spray painted it white which also helps weather proof it.
Add glitter.
Then you are done.


 I hung them up with wire and a screw through the back...the kind of screw you would use to hang pictures...you know, with the "O" on one side and the screw on the other.  Do you even know what I am talking about?  Oh man.  What a terrible time to forget what they are called.


Put it all together and there you have it.  A winter scene for your porch. 

 
Pin It!