Showing posts with label Fall. Show all posts

Thursday, October 18, 2012

White Chicken Chili

Doesn't the crisp fall air just scream, "EAT SOME SOUP!" to you?  It does to me. There is nothing like warming up with a delicious bowl of soup on a crisp Autumn day.


This recipe is perfect because not only is it healthy and delicious, it is also really easy and FAST to put together.  I have made it twice in the last two weeks and my family just gobbles it all up.  That's when you know a recipe is good :) The first batch I only made half the recipe, and the second time I did the full one so that we could have leftovers.

Ingredients:
  4 cans   white beans drained
  8 cups   chicken broth
1/2 cup   diced cilantro
   1 can   diced green chilis (I used mild)
  1 TBS   salt
    1 tsp   cumin
         6    boneless, skinless chicken thighs (finely diced and cooked)

Combine all ingredients in a pot and simmer over medium to low heat on the stovetop for 30-40 minutes stirring frequently. Enjoy!

Makes 5-7 servings.


Pin It!

Friday, September 28, 2012

DIY Happy Halloween Banner

I LOVE HALLOWEEN!

There. I said it.  

Now that I have that out of my system, let me tell you about the fun Halloween Banner I made. :)


I have been wanting to make this for a while now, and am so SO excited with the way it turned out.  I even talked Charli into making one with me.  (As soon as she hangs hers up and takes a photo, I will show you how her banner turned out.  It is so stinkin cute and it's different from mine.)

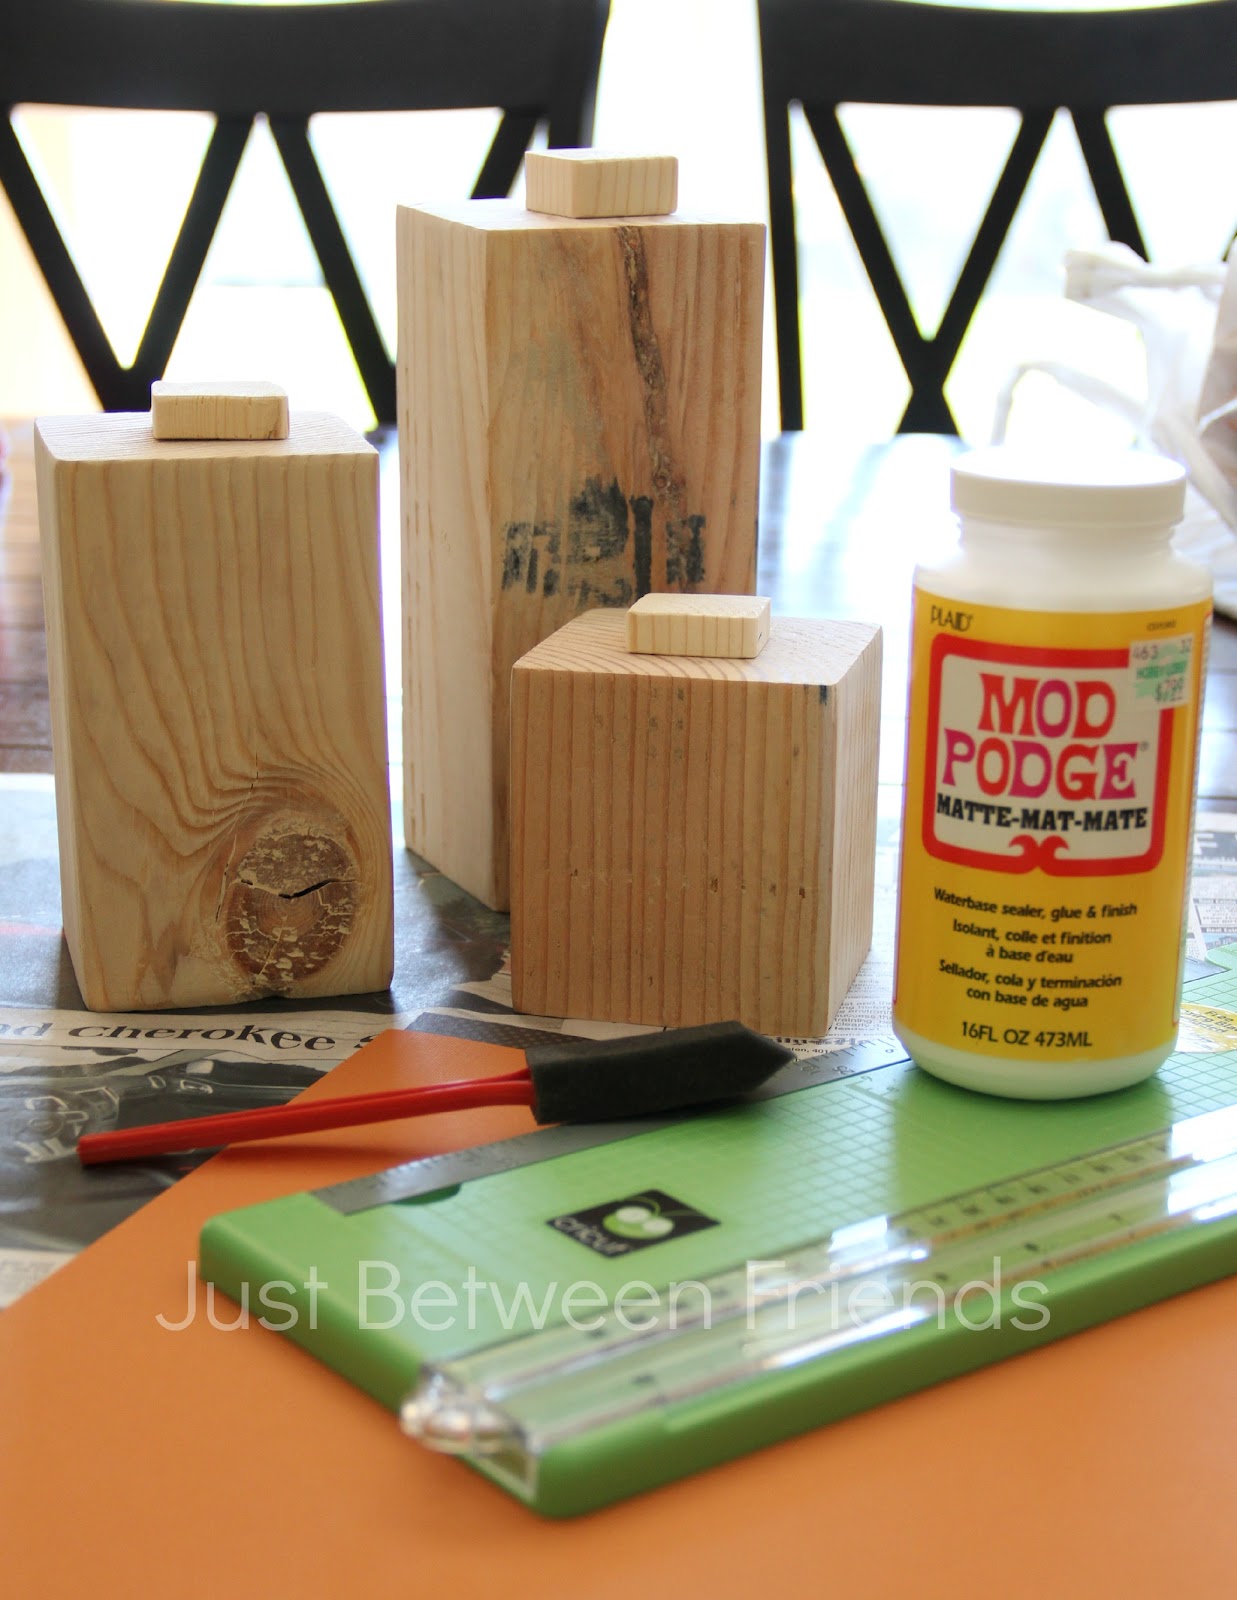
I started off by gathering my supplies.


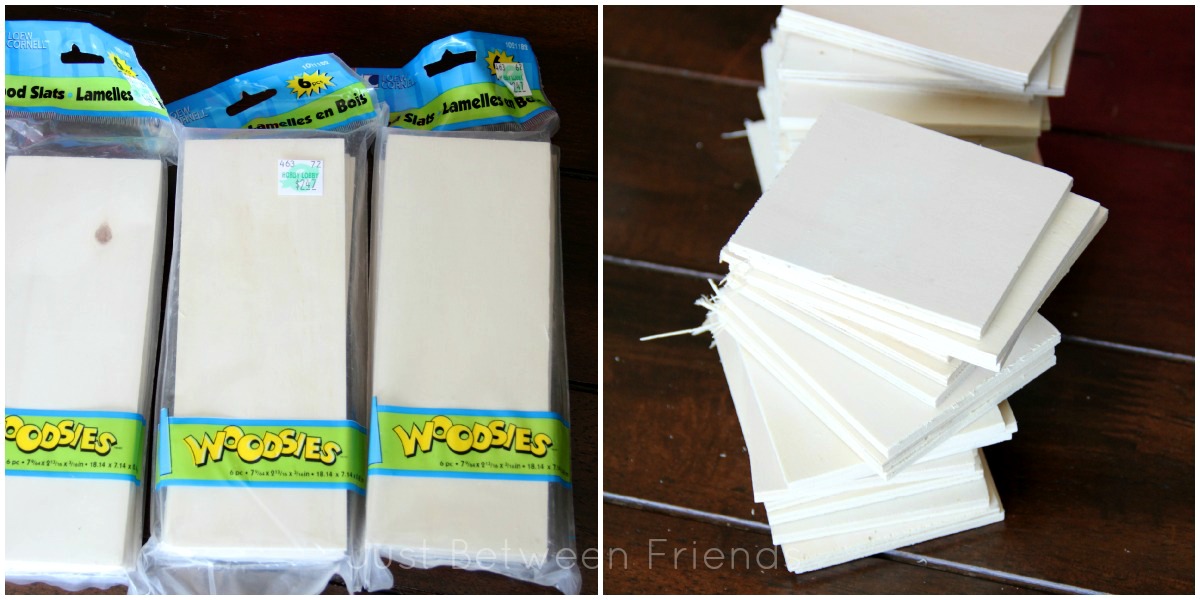
You can find the wood pieces in your local craft store.  I got mine at Hobby Lobby in the wood projects isle.  I could have left them long, but I wanted them to be smaller, so I sawed them in half.  Well....almost half.  I ended up with two different sizes, but then I thought it would be fun to mix and match.  Then I forgot that I had two different sizes, so they aren't very mixed or matched.  Mostly clumped.  But it works.


I purchased the Thickers at a warehouse sale, but I have seen them at any craft store as well.  I decided to make this project as easy as possible.  If you don't have a Silhouette yet, no biggie.  I didn't even use it this time!  (This is a huge step for me because I use that thing for everything.)

The rest is just personal preference.  I wanted to go with more neutral kinds of Halloween colors with a little pop of orange and green.  I am LOVING the cardboard paper I found at Hobby Lobby as well.  

The wire is an 18 gauge wire that I found at Home Depot in the picture hanging stuff isle.


We good?  You got all that?  Let's get to the fun part now.

All you need to do is cut your pieces of scrapbook paper to match the size of the wood.  Then use mod podge to attach it.  Once you have your base paper on, you have creative license to embellish your little heart out.


I liked the look of having each board be a little different, but that is just my personal preference. Once you have all your boards finished, you will need to drill two holes in each piece.  This is really easy.  If you are too scared to use a drill, you could attach it some other way like with tape and ribbon or even use a staple gun.


I wanted a simple look, so I put the wire through and then just bent it so that it actually just looks like a staple.  On the ends, I left about 12 inches to curl and hang the banner up with.  


Ta-to-the-Da.  Finished.


Stand back and admire.


Pin It!

Friday, September 21, 2012

DIY Wooden Hanging Pumpkin {Crafty Wood Cutouts GIVEAWAY}

Are you guys sick of fall decorations yet?  I hope not, because I have some more to share with you.  This one is a darling pumpkin kit that you can purchase at Crafty Wood Cutouts or you can enter to win below. This is how it looks when you get it.  All the wood pieces you need are included in the kit.  It is a blank canvas perfect for making your very own!


I began by painting my base color on all of the pieces.


I wanted a fun pattern on my pumpkin, but I didn't want to do the scrap book paper look.  I decided to go with paint, tape, and GLITTER.  Yes, the glitter is my favorite part of this.  I didn't really do any exact measuring.  I just started putting tape down and painting.  I decided that I wanted to do some bigger diamonds as well, so I taped again and painted a few bigger ones.  Last, using elmers glue and glitter, I filled in some of the smaller diamonds and outlined all of the big diamonds to give some texture and fun pattern.


Once the pumpkin pieces were drying, I started my leaves.  I painted two of the leaves green, sanded them and then spread a glitter glue over the top to give them a little shimmer.  For the other two leaves, I used mod podge and burlap.  I love the texture this brought to my pumpkin.


The last thing to do was to attach the leaves to the pumpkin and add some embellishments.  I used an 18 gauge wire to connect everything together.  I also used some green ric rac, brown tulle and orange ribbons to cute-i-fy it.   


And there you have it!  A finished, extra cute pumpkin that is perfect for decorating from now until the end of November.


Here's the best part!  You can win one for yourself! All you need to do is enter using the rafflecopter form below.  The contest will run until next Friday and the winner will be announced on Saturday Sept 29th.      
a Rafflecopter giveaway
Pin It!

Thursday, September 13, 2012

Fall/ Thanksgiving Wood Stacker

You know those weeks that just don't quite go as planned?  That would sum up my week in a nut shell.  I meant to get this posted yesterday, but as it turns out, my girls both have hand foot and mouth.  It has been a rough couple of days, and I am just glad that they are both sleeping at the same time so that I can type this up really quickly.

Enough of that.  You are here to see a cute craft.  This is another one of the wood kits that was sent to me by Fabdecor.  (If you missed the last two, you can find the pumpkins here, and the fall words mini stacker here.) This is a great project for those that like to decorate for different holidays and seasons, but don't have the space to store it all.  It is a double sided stacker!

It is pretty basic to make these yourself, which is what makes them so great, but here is a little mini tutorial for you on how I did mine.


I started with the wood kit.  I painted the blocks a light orange, dark orange, and cream.  Then I applied my vinyl.  This is where my tutorial might differ from others.  I decided that it would be fun to add glitter to the turkey and the pumpkin.  All you need to do it take a mini paintbrush and using mod podge, paint along the vinyl where you would like the glitter to go.  I recommend doing it in smallish sections because the glue will dry.  The glitter gives it a fun texture and sparkle that really makes it even more cute.  The turkey I coated quite a bit with the glitter, but the pumpkin I just dusted it with it.  Make sure that if you do use the glitter that you use some kind of sealer spray on it so that the glitter doesn't get everywhere.


I finished off the blocks by rubbing a wood stain on the edges and a quick swipe across the words.  Then I tied it all together with some tulle and some FABULOUS yellow houndstooth ribbon.  I bought this ribbon from Walmart (of all places) in the dollar bin about a year and a half ago.  I haven't found a project that I wanted to use it on until now.  I think it works really well with the fall and thanksgiving blocks.


If you would like to purchase the wood kit yourself, you can go to Fabdecor and purchase the full set including both sides, or you can purchase just one side.  Pretty cool!

OR you can enter to win one!  Head over to fablifyit.com to enter to win one of THREE sets being given away! Good Luck!
Pin It!

Wednesday, September 5, 2012

Fall Words Mini Stacker


This week's challenge was a really quick and easy one.  It is a cute mini stacker that uses fall words. Here's how I decided to do mine.

(You can buy the kit that includes the wood and vinyl for $4.50, or you can buy a completed kit for $9.00)


First, I painted the blocks different colors.  I wanted a sort of an ombre look to it, so I went with two shades of orange and a yellow.  After the blocks were painted, I added the vinyl to the blocks.  I decided I would rather use the vinyl like a stencil than keep it on the block, so I took the blocks outside and covered them with a layer of brown spray paint.  Once they were dry, I peeled the vinyl letters off leaving my ombre letters.  Last, I used some sand paper to expose the colors that were under the brown paint.  I also ran the sand paper across the letters as well to give them a little more of an aged look.

You can leave your blocks just like that, or you can do like I did and wrap some twine around all the blocks and add a leaf and berries.


These are the perfect gift for a friend or just to use in your own fall decor.  If you would like a chance to win one of your own, head over to Fablifyit and enter the giveaway there.  There will be several kits given away, so you will have plenty of chances to win!  Good luck!
Pin It!

Saturday, September 1, 2012

Pumpkin Kit Winner


Thanks to everyone that entered to win the cute 4X4 pumpkin kit.  If you didn't win, remember, you will have several more chances to win other kits over the next 6 weeks.

The winner is:

Shae

I sent you an email, so be sure to look for it and get back to me so I can get you your prize!


Pin It!

Wednesday, August 29, 2012

Teaming Up-{Weekly Challenge & Giveaways!}

I am really excited to bring you a new series that will be starting today and going for the next seven weeks!  I am teaming up with several other bloggers to bring you some fun new kits from FabDecor.com! These are perfect for decorating for fall because not only are they stinking cute, they are really inexpensive and easy to make!  Those are my kind of projects.  Let's get started with challenge #1!


I was given three 4X4's along with toppers and the vinyl to complete this kit.  A little info for you- You can purchase the DIY kit including all you need to complete this project for $12.  You can also buy just the vinyl for $1.75 per face, or you can purchase an already completed kit at FabDecor.com.If you decide to purchase the kit, be sure to use the code SUMO for 25% off of your purchase. -OR- If you like free things you could also enter to win one at the bottom of this post!


"There are no mistakes, only happy accidents."  At least that is what went through my head while I was making these pumpkins.  I was so worried that I had screwed up my pumpkins.  Let me explain. I began by using some textured cardstock and some mod podge.  I glued the cardstock to the wood and was going to leave it there.  It looked funny, so I tried to take it off and start over. The problem was I had waited too long to take off the paper.  When I tried to pull it off, my happy accident occurred. :)  Part of the paper was completely glued to the wood.


Don't you love the texture that the ripped paper leaves on the wood?  I thought it was great and just went with it.  To duplicate what I did, all you need to do is cut a piece of cardstock to fit the side of the pumpkin.  Mod podge it in place and then let it dry.  When it is mostly dry, peel the paper off and see what happens.  Every side will look different, and trust me, it will be ok.


Once the paper was all good and ripped, I used a wood stain and rubbed it onto the sides and then put just a little swipe on the paper as well.  Just remember that if you leave the stain sitting for too long, it will darken and you won't be able to wipe it off.  Also, if you put any on the paper, you can't rub it off, so add in light layers with a teeny tiny amount of stain on your rag.


To do the topper, I used a brown polka dot cardstock and simply cut a square for the top.  Mod podge it on, and then use the stain around the sides.  A little hot glue to hold it in place and you're done! 

The only step left is to add the cute faces to the front.  Here's what you get when you are done.  One side with the plain pumpkin and one side that is perfect for Halloween with the Jack-O-Lantern faces. 


I think they turned out so cute and am so excited to use them for the fall!  If you would like to see what the other bloggers did, you can go check out the post on the FabDecor blog- Fablifyit.com.  There will also be FOUR other pumpkin kits being given away over there. 

Want to win one of your own?  Enter in the Rafflecopter box below.  You will have until Saturday to enter and the winner will be announced then.  Good Luck!

a Rafflecopter giveaway
Pin It!

Monday, November 7, 2011

fall wreath

About a week after I had my daughter, my mom brought me all of the things I would need to be able to make a wreath for my front door.  We had been talking about what kind of wreath we should make for a while and so we both made one.  Here is what mine turned out like:


Here is how I made it:

I started out with an old nasty water noodle.  I duct taped it into a circle and used it as my wreath form.  Super cheap and super easy.  It worked like a charm!


Next, I wrapped the wreath in burlap so that none of the wreath form was showing.


I used a nice green moss next to cover the burlap.  The easiest way to get the moss to stick was to cover a section of the burlap with some hot glue and pat the moss down on it. 


Next, I hot glued some pumpkins onto the moss.  the finishing touch was adding a big burlap bow to the top.  The best way to get it to stay exactly the way I wanted it to was to use straight pins.  It was so convenient.


To hang it, I simply used a strip of burlap and some thumb tacks.  I tacked it to the top of my door.


I love it because I can leave it up through October and November without having to change anything.

Pin It!

Wednesday, November 2, 2011

Fall Mantle

I know that Halloween is now over, but I realized that I never posted my updated mantle which also happens to have some holiday decor on it.  So I thought I would share it with you cause I am pretty excited about it. 

Here is what my mantle looked like last Halloween.


And this is how it looks now.


I decided to do some graphic art to modernize my front room a little. 


 I added a monogram and an owl and I loved the results. 


I really love the graphic pattern and I love that I can do so much paired with it on the mantle.  What do you think?
Pin It!

Wednesday, September 28, 2011

POV {Autumn} Feature

Wow!  There were so many fun projects linked up this month!  I think my to-do list just doubled.  Fall really is my favorite time, so it got me all excited to start decorating for fall looking through all of the projects.  Here is one of my favorites from the party.

Creation Corner linked these fun fabric pumpkins up.  I think they are just darling.  The fabrics she chose are so fun and her tutorial looks so easy to follow!  Go check it out and give it a try.  These would be so fun to put anywhere in your house during this fall season.


Thanks for linking up Tasha!  Feel free to grab a featured button from my sidebar.
You should all be so excited for next month's theme.  drum roll please.........BURLAP!  It seems to be all the rage around blog land and it should be fun to see what you can come up with.  So get started on those projects and get ready to link them up on the 28th of October!  Can't wait to see what you come up with!
Pin It!

Friday, September 23, 2011

POV {Autumn}

This month's theme for Point of View is Autumn.  Check out all of these amazing projects!


Here are the links to all the projects.  You are going to want to go see all of them!

1. Me- you can find the tutorial here
2. Gwen- Gwenny Penny
3. Stephanie- Always Just a Mom
5. Camilla- Rosy Red Buttons
7. Michelle- A Little Tipsy

As always, we have a fun linky party going on that is sure to give you some festive ideas for Autumn.  We would love it if you would head on over to Gwen's blog and link up your Autumn posts.  They can be past or present posts.  We aren't picky.  And as an extra bonus, we will be featuring our favorite projects next week.  So be sure and link up!

I definitely had so much fun with this theme.  It probably is because this is my very favorite time of the year.  And even better is the fact that this season means that I am almost done with this pregnancy!  I will let you know when the big day comes.  I am due in 4 weeks, so you never know when it will happen. 

Thanks for stopping by!  Make sure to check out all the fun tutorials!
Pin It!

Seasonal Welcome Post

I had a lot of fun making this project.  It all started with my obsession with pinterest.  I saw this post, and decided to make one of my own just with my own little twist to it since it wasn't nearly big enough for my liking.  Here is my version:


What you need to get started on the post:


4X4- (1) cut to 3 ft.
1X4- (2) cut to 16 in
1X6- (2) cut to 16 in
2X8- (1) cut to 7 in
molding- your choice (I got 5 feet and had a little left over)
Spray Paint
Fence Cap (1) I found it over by the fencing stuff at Home Depot

Step 1:  Using nails and wood glue, I attached the 1X4's to the sides and 1X6's to the front and back of the 4X4 post.  Then I attached the 1X8 to the bottom with a screw and wood glue so that it was nice and secure.  This will create your base.


Step 2: Cut your molding to size.  You should cut them at a 45 degree angle so that you have nice mitered corners.  You should have 2 pieces that are 4 in long and 2 pieces that are 16 in long.  Attach them to the front of your post.  (It should be a 1X6 that you are attaching them to.)


Step 3:  Add your cap to the top by using wood glue and then using small nails on the sides to hold it securely in place.

Step 4:  Caulk all of the spaces.  Trust me.  You don't want to skip this step.  It will make your piece not only look flawless, but it makes it a lot more sturdy.

Step 5:  Sand down the entire post.  I wouldn't recommend sanding the molding. 

Step 6:  Spray paint your post with whatever color you would like. 


Once that is done, you are done with making the post.  Now on to how to decorate it!

My mom had this awesome rod iron thing that she found while thrifting one day and she let me use it for this project.  It definitely added a lot to the finished look.  To attach it, I used a screw through the post and hung it on it.  Then I also added nails to either side of it so that it won't swing around in the wind.

To make the welcome sign, I used a scrap 1X4 and simply spray painted it the color I wanted it, then added the vinyl lettering.


The pumpkins took a little bit of creativity.  I really wanted a specific look for my post, and the only way I could get it was to buy this sign from Tai Pan ($9) and take the pumpkins off of it.  Then I attached them to some scrap 1X4's that I had cut to the right size.  Here is the sign sans pumpkins.  The pumpkins I used went on either side of the skinny pumpkin in the middle.  You get the idea though.


To attach it to the rod iron thingy, I used some ribbon I got from Walmart for $1.00!  I was pretty excited about my find.  I actually found a couple of really great ribbons for such a cheap price. 


To finish things off, I simply placed it on my porch and got some fun fall mums to go next to it.  I love the way it turned out and I think I am most excited about the fact that I can change out the pumpkins for other holiday decor once Christmas rolls around.  It really is versatile and I can't wait to make the blocks for the other holidays throughout the year.


And there you have it.  My POV project for the month.  Don't forget that you can go link up your favorite fall projects over at Gwen's blog.  We will be choosing our favorites to feature next week!
Pin It!