Showing posts with label Series. Show all posts

Friday, October 26, 2012

POV {Thrift Store}

It's time for another round of Point of View!  I am actually SO excited to show you my project.  It's one that I have been working on for a really long time because I wanted it to be just right.  But first, let's get on with the party!  Here's what we have all been working on:

POV-October-2012

1. Gwen- Gwenny Penny
2. Leanne- Organize & Decorate Everything
3. Amy- Ameroonie Designs
4. Me- Just Between Friends (You have to go check out my awesome craft room)
5. Kara- Happy Go Lucky

Go look at all the links!  Seriously.  I will wait.

Ok, you back now?  I am dying to see YOUR projects!  Link up all of your Thrift Store posts.  Just like every month, the links will be seen on all of the participating blogs, and we will be featuring our favorites next week.  I can't wait to see!!!


Pin It!

Wednesday, October 3, 2012

Spooky {Boo} Blocks

Are you ready for Halloween yet?  I have my house decorated and love it.  If you are looking for a quick and easy decoration to add to your home, this one is it!  It is seriously cute.  Fabdecor has done it again and for an incredibly affordable price!  This kit is only $4.50!  Plus, they are offering my readers 25% off your entire purchase-including sale items!  Just use the code FABFRIENDS at checkout.


Let me show you what I did with my kit.  The pieces all come pre-sanded (!) and ready for you to paint.  (Awesome)  I painted the blocks black and mod podged paper to the front.


I put the vinyl on top and bam!  Done.  Want to know something that's even cooler?  The eyes are GLOW IN THE DARK!  Seriously.  It's pretty cool.


There you have it.  I think this took me about 20 minutes from start to finish including dry times and taking pictures along the way.  Easy Peasy!

Now go get your kit from Fabdecor and get busy!
Pin It!

Friday, September 28, 2012

DIY Happy Halloween Banner

I LOVE HALLOWEEN!

There. I said it.  

Now that I have that out of my system, let me tell you about the fun Halloween Banner I made. :)


I have been wanting to make this for a while now, and am so SO excited with the way it turned out.  I even talked Charli into making one with me.  (As soon as she hangs hers up and takes a photo, I will show you how her banner turned out.  It is so stinkin cute and it's different from mine.)

I started off by gathering my supplies.


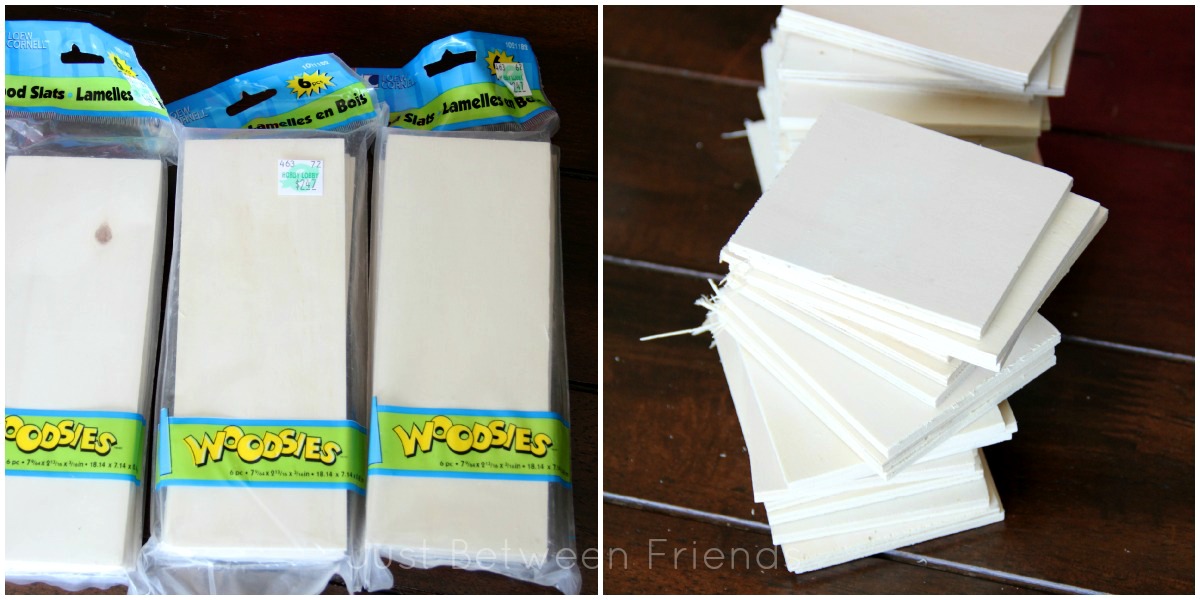
You can find the wood pieces in your local craft store.  I got mine at Hobby Lobby in the wood projects isle.  I could have left them long, but I wanted them to be smaller, so I sawed them in half.  Well....almost half.  I ended up with two different sizes, but then I thought it would be fun to mix and match.  Then I forgot that I had two different sizes, so they aren't very mixed or matched.  Mostly clumped.  But it works.


I purchased the Thickers at a warehouse sale, but I have seen them at any craft store as well.  I decided to make this project as easy as possible.  If you don't have a Silhouette yet, no biggie.  I didn't even use it this time!  (This is a huge step for me because I use that thing for everything.)

The rest is just personal preference.  I wanted to go with more neutral kinds of Halloween colors with a little pop of orange and green.  I am LOVING the cardboard paper I found at Hobby Lobby as well.  

The wire is an 18 gauge wire that I found at Home Depot in the picture hanging stuff isle.


We good?  You got all that?  Let's get to the fun part now.

All you need to do is cut your pieces of scrapbook paper to match the size of the wood.  Then use mod podge to attach it.  Once you have your base paper on, you have creative license to embellish your little heart out.


I liked the look of having each board be a little different, but that is just my personal preference. Once you have all your boards finished, you will need to drill two holes in each piece.  This is really easy.  If you are too scared to use a drill, you could attach it some other way like with tape and ribbon or even use a staple gun.


I wanted a simple look, so I put the wire through and then just bent it so that it actually just looks like a staple.  On the ends, I left about 12 inches to curl and hang the banner up with.  


Ta-to-the-Da.  Finished.


Stand back and admire.


Pin It!

Wednesday, September 26, 2012

Gifts for the Bakers

For those of you that have been keeping track based on the photo I showed in the first post, we aren't exactly done showing all the different gift ideas.  In fact, I have quite a few left.  So, I will be finishing them up this week for sure.  If you want to make sure that you haven't missed any posts, check back to the first post because I will have links to all of the gifts over there.  You could even pin it for later just so that you have all the gifts in one spot.  Just sayin.  I'm trying to make your life easy over here, ok.


This next gift that I wanted to share with you is one that can be personalized to include so many different types of gifts.  We wanted to show you what to include as a gift for someone that loves to bake.  You will start out with a container with a lid.  We got this one from the thrift store but it was a silver color.  To make it cute, we mod podged paper to the front, used washi tape around the edges, front, and handle, then added ribbon and a cute birthday button to the front.  It is a really quick and cute way to decorate it.


Now that the outside is looking cute, you need to fill it with cuteness!  We went with cupcake liners, sprinkles, candles, and a small cake spatula.  This is a really inexpensive gift that is personalized and fun.


Like I said before, this gift can really be changed to match anyone and their likes.  If you know someone that loves to garden, you could fill the box with seeds, gloves, gardening shovel, etc.  Another idea is if you know someone that loves to craft.  You could put washi tape, mod podge, glitter, scissors, and paint into a box and give it to them.  There are just so many different ways you can use it!

What would you use this for?

Pin It!

Monday, September 17, 2012

Box of Sunshine


Last week I wrote a post recommending some children's books, so I am not going to double do it this month. Instead, I'm going to do something that I will probably never do again and write a whole post that has nothing to do with books. The week before last my husband and I wanted to send a package to some loved ones to brighten their week a little. This idea I had seen on Pinterest came to mind. I loved how simple and cute it is. I am not a crafty or creative person and I like that it's so straight forward: even I can handle it. The basic idea is that you gather yellow things, put them in a box, and call it a box of sunshine. Win-win-win.  We had a lot of fun searching for yellow items to use. Our package turned out really cute. Shortly after we sent that off, I found out about the gift-giving class and decided to make a mini version.

I got a little box from the gift wrap section at Hobby Lobby for 69 cents, along with some yellow tissue paper. I filled the box with yellow treats, then printed out a little label, and used a couple glue dots to stick it to the box. I really like how it looks.


Here's what I put in my box:

  • M&M's
  • Toblerone
  • Ferrero Rocher
  • Burt's Bees Chapstick
  • Country Time Lemonade packets
  • Lemon drops (I bought a bag at Target for $1, then put them in a little Mason jar, tied a bow around it and stuck some cute scrap book paper to the lid.)


This is a fun gift for any reason, or no reason at all. If you want to step it up a notch you could add a gift card. The only company with a yellow giftcard I could think of off the top of my head is Subway, but you can wrap yellow scrapbook paper around any card to make it fit your theme. This gift can be as inexpensive as you want/need it to be and still be thoughtful. Anyone would love to receive this gift. I know I would.


Pin It!

Thursday, September 13, 2012

Fall/ Thanksgiving Wood Stacker

You know those weeks that just don't quite go as planned?  That would sum up my week in a nut shell.  I meant to get this posted yesterday, but as it turns out, my girls both have hand foot and mouth.  It has been a rough couple of days, and I am just glad that they are both sleeping at the same time so that I can type this up really quickly.

Enough of that.  You are here to see a cute craft.  This is another one of the wood kits that was sent to me by Fabdecor.  (If you missed the last two, you can find the pumpkins here, and the fall words mini stacker here.) This is a great project for those that like to decorate for different holidays and seasons, but don't have the space to store it all.  It is a double sided stacker!

It is pretty basic to make these yourself, which is what makes them so great, but here is a little mini tutorial for you on how I did mine.


I started with the wood kit.  I painted the blocks a light orange, dark orange, and cream.  Then I applied my vinyl.  This is where my tutorial might differ from others.  I decided that it would be fun to add glitter to the turkey and the pumpkin.  All you need to do it take a mini paintbrush and using mod podge, paint along the vinyl where you would like the glitter to go.  I recommend doing it in smallish sections because the glue will dry.  The glitter gives it a fun texture and sparkle that really makes it even more cute.  The turkey I coated quite a bit with the glitter, but the pumpkin I just dusted it with it.  Make sure that if you do use the glitter that you use some kind of sealer spray on it so that the glitter doesn't get everywhere.


I finished off the blocks by rubbing a wood stain on the edges and a quick swipe across the words.  Then I tied it all together with some tulle and some FABULOUS yellow houndstooth ribbon.  I bought this ribbon from Walmart (of all places) in the dollar bin about a year and a half ago.  I haven't found a project that I wanted to use it on until now.  I think it works really well with the fall and thanksgiving blocks.


If you would like to purchase the wood kit yourself, you can go to Fabdecor and purchase the full set including both sides, or you can purchase just one side.  Pretty cool!

OR you can enter to win one!  Head over to fablifyit.com to enter to win one of THREE sets being given away! Good Luck!
Pin It!

Easy Christmas Gifts

I realize that Christmas is a long way away, but why not start planning now for the holidays?  These ideas are some of my favorite that I have ever seen as far as neighbor gifts go.  I even have FREE PRINTABLES to go along with them!  It doesn't get any easier for you than this!


This first one is my all time favorite.  "You're gettin "Muffin" for Christmas."  Seriously clever, right?  I didn't come up with the saying, but I did make the printable.  Just click the link below to print your own tags.  I used the yummiest muffin mix out there.  Ghirardelli double chocolate muffins to be exact.  They are yummy! Plus who wouldn't love a nice chocolately muffin?


To make it a little nicer than just slapping a label on a box, I used some brown packaging and wrapped it around the box so that you could still see that it was a muffin mix.  Then I used a rectangle of red card stock and attached it on top of the brown packaging.  Last, I tied some red bakers twine around that, and finished it with the printable.  It is a simple packaging, but one that I think looks really nice!

***Printables are for followers of Just Between Friends ONLY.  If you like this post, I would love it if you would follow along!

PRINTABLES:
You're Getting Muffin for Christmas
Twizz the Season to be Jolly


This next gift idea is another one that I think is SO clevah. (You know, like clever, but clevah instead.)  This is really easy to put together and really inexpensive.  All you need to do is get some ribbon, print off the printable (link above), and attach it to the licorice.  I did glue the printable onto some black card stock to give it a more finished look.  That's it!  So cute!


Pin It!

Monday, September 10, 2012

Giving Framed Art as Gifts

I have two fun ideas that would make great gifts that use picture frames.  They are really easy to pull together and make for a very personalized and cute gift.

This first idea was one my sister and I did for Father's Day this year as a surprise for our husbands as well as our dad.  It is pretty self explanitory and SO easy to put together.  I bought the letters at Hobby Lobby and painted them different colors.  The heart is a piece of pink felt that I cut to be a heart.  All you need to do is take a picture while holding the different parts of "We <3 U", print it out, and put it into a frame.  I got this frame at Hobby Lobby as well.  So for a total cost of $15, this was a really great gift that my husband brought to his office and enjoys every day. The good news is that you don't have to do it just for Father's Day.  You can use this idea for any holiday or birthday!


The next gift that I wanted to talk about is this fun photo holder.  My mom made this one, but she showed me how she put it together.  Here is a little mini tutorial for you.


You begin with an old frame.  This one is a little bigger than an 11X14 I think.  If you don't have an old frame on hand, you can get a frame at the local thrift store, add a coat of paint and use it just as easily.  You will also need some fun fabric, some sort of twine or jute, mini clothes pins, and cute photos.

My mom then got a piece of cardboard that was cut to the size of her frame.  Then she cut the fabric to the same size.  Next, she added some glue to the edge of the cardboard and placed the fabric in position. For this project, she used the elmers craft glue.  My mom said that it is pretty powerful stuff.  It isn't your typical Elmer's glue that you can use to peel off like skin. (You know you've done it before.)


Once it has dried, just use a staple gun to attach it to the frame.  Flip it over and use the staple gun to attach the jute to the frame.  There is no exact science to this.  Just put it wherever looks right.


Now you can add the photos of your cuties or leave it empty for the person who is receiving the gift to fill it up with cute faces.  It is a fun and personalized gift that anyone would love to get.  


Pin It!

Gift Giving for Every Occasion


Saturday, my mom, sister, and I taught a class on gift giving. Holy cow!  I have so many things to show you from the class! Seriously.  It is going to take an entire week to show you all the how to's, the links, and even some freebies that we talked about during the class.  When we were asked to teach the class, they told us that they wanted a variety of gifts, and I guess you could say that we made sure that we covered all the bases.  The only criteria was that the gifts were easy to pull together, and inexpensive.  Perfect.

Let me just show you our set up that we had.  It is just a cell phone pic that I snapped really quickly before the class started, but it gives you the basic idea of how many things we covered.


Over the next week, I will be sharing all of our ideas, tips, and tutorials that we shared during our class. I think that there will be something for everyone and you won't want to miss out.  I have a couple of posts scheduled every day, so be sure to check back often so you don't miss anything.  I will also be using this page as a place to post a link for all of the gifts.  At the end of the week, you can refer back to this post to be able to get to all of the tutorials.
My sister, Charli, was the sister that helped teach the class, and she will be helping me to share all of the fun gifts.  I tried to talk my mom into helping me write the tutorials for the things that she did, but she politely declined.  Maybe someday I will get her to guest post here for me.  You would love her because she is delightful, talented, and so creative! 
I hope you enjoy this week!  Plus I have some other non gift related posts coming up this week as well.  Phew!  So many posts and so little time.  

Links to Gift Ideas:


Pin It!

Sunday, September 2, 2012

New Additions

I have been working on getting things more organized around here.  There are a lot of things that I would like to see here on this blog, and a lot of things that I know you wish you could see.  I had a realization the other day that I couldn't do it alone.  That is why I am so excited to tell you about some exciting new things that are going to be happening on Just Between Friends!

I am going to be introducing you to two new segments that you will see twice a month.  They will be written by my new contributors who are both ladies that I love dearly.  Let me introduce you to them and the segments they will be writing.


Charli is my sister and one of my very closest friends.  (I can't say best friend because I have four sisters and they are all my closest friends so none of them are the best :)  She is an inspiring and beautiful woman.  I am so lucky that she is willing to share with my readers!  She has always had a love of books, and I thought it would be fun to have a segment with book recommendations.  Since she is the pro, I knew she was the gal for the job.  Charli will be writing her segment, "I really like books," twice a month- once for the kids and once for the adults.  I just know you are going to love it AND her.


Dorothy is my cousin and also a very close friend.  (What can I say, I LOVE my family.) She has always had a great way with words and loves to create in the kitchen.  I knew she would be a perfect contributor for a cooking segment that we are going to call "Dorothy's Dish."  She is both talented and beautiful.  I am so thrilled that she agreed to join me in this blogging endeavour and I know you are going to love her as well.

Look for these blogging buttons to know when these lovely ladies are the ones writing.  I just KNOW that you are going to love what they have to offer!


I would love for this blog to be a place where you can come for advice, tips, crafts, recipes, and so much more.  I have been thinking about the name Just Between Friends and what I want it to mean.   I think we go to our friends when we are looking for something, have questions about something, or when we need support.  I want this to feel like that safe place where you can go and acheive exactly that.  It will be a safe place where we can shares ideas and stories.  I would love to have more invovlement from you, my friends.
 
I have lots of ideas, and am so excited to share them with you, but only if it's just between friends. :)
 
 
Pin It!

Wednesday, August 29, 2012

Teaming Up-{Weekly Challenge & Giveaways!}

I am really excited to bring you a new series that will be starting today and going for the next seven weeks!  I am teaming up with several other bloggers to bring you some fun new kits from FabDecor.com! These are perfect for decorating for fall because not only are they stinking cute, they are really inexpensive and easy to make!  Those are my kind of projects.  Let's get started with challenge #1!


I was given three 4X4's along with toppers and the vinyl to complete this kit.  A little info for you- You can purchase the DIY kit including all you need to complete this project for $12.  You can also buy just the vinyl for $1.75 per face, or you can purchase an already completed kit at FabDecor.com.If you decide to purchase the kit, be sure to use the code SUMO for 25% off of your purchase. -OR- If you like free things you could also enter to win one at the bottom of this post!


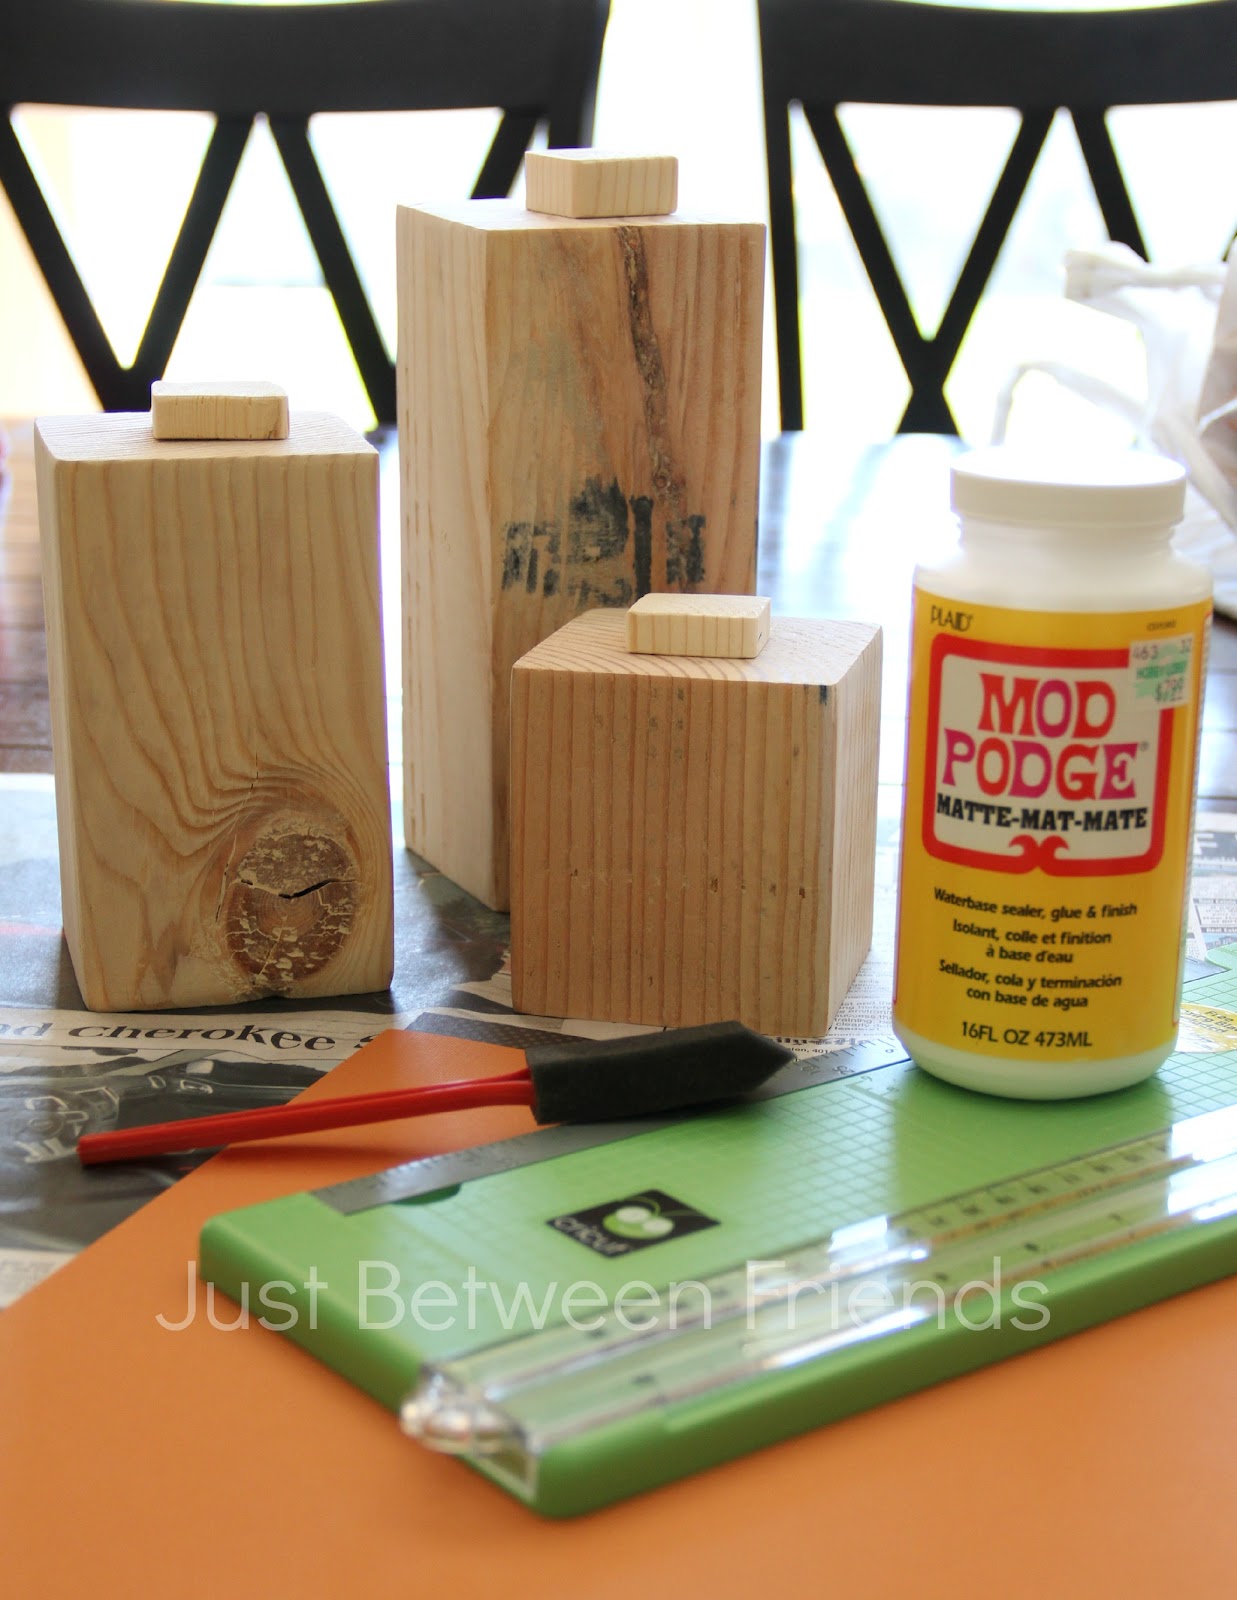
"There are no mistakes, only happy accidents."  At least that is what went through my head while I was making these pumpkins.  I was so worried that I had screwed up my pumpkins.  Let me explain. I began by using some textured cardstock and some mod podge.  I glued the cardstock to the wood and was going to leave it there.  It looked funny, so I tried to take it off and start over. The problem was I had waited too long to take off the paper.  When I tried to pull it off, my happy accident occurred. :)  Part of the paper was completely glued to the wood.


Don't you love the texture that the ripped paper leaves on the wood?  I thought it was great and just went with it.  To duplicate what I did, all you need to do is cut a piece of cardstock to fit the side of the pumpkin.  Mod podge it in place and then let it dry.  When it is mostly dry, peel the paper off and see what happens.  Every side will look different, and trust me, it will be ok.


Once the paper was all good and ripped, I used a wood stain and rubbed it onto the sides and then put just a little swipe on the paper as well.  Just remember that if you leave the stain sitting for too long, it will darken and you won't be able to wipe it off.  Also, if you put any on the paper, you can't rub it off, so add in light layers with a teeny tiny amount of stain on your rag.


To do the topper, I used a brown polka dot cardstock and simply cut a square for the top.  Mod podge it on, and then use the stain around the sides.  A little hot glue to hold it in place and you're done! 

The only step left is to add the cute faces to the front.  Here's what you get when you are done.  One side with the plain pumpkin and one side that is perfect for Halloween with the Jack-O-Lantern faces. 


I think they turned out so cute and am so excited to use them for the fall!  If you would like to see what the other bloggers did, you can go check out the post on the FabDecor blog- Fablifyit.com.  There will also be FOUR other pumpkin kits being given away over there. 

Want to win one of your own?  Enter in the Rafflecopter box below.  You will have until Saturday to enter and the winner will be announced then.  Good Luck!

a Rafflecopter giveaway
Pin It!